Draw Solid Line in Photoshop
How To Draw Lines In Photoshop
To draw a line in Photoshop, there are a variety of different tools you can use. Depending on the type of line you want to create, some options might prove more useful than others. The three best options you have for creating lines is the Line Tool, Pen Tool, or the Brush Tool.
The Line Tool is the easiest way to create straight lines in Photoshop. It can be accessed within your Shape Tools (U) and is easily customized with the stroke and color fill settings. With the Line Tool selected, simply drag out on your canvas to create a new line.
Now that's just the tip of the iceberg with the Line Tool and creating lines in Photoshop. Let's get more in-depth with this tool, along with the other options you have at your disposal.
3 Ways To Draw Lines In Photoshop
1. The Line Tool
The line tool is one of the shape tools available in Photoshop. It works by creating a very thin rectangle while then using the stroke adjustment to thicken the width. It's very simple to use and is one of the best ways to create straight lines in Photoshop.
It is possible to create curved lines with the line tool, but it's harder to customize them. Rather than following a path, the line tool can only be curved by warping the layer.
Let's go through the different ways to use the line tool in Photoshop.
How To Use The Line Tool
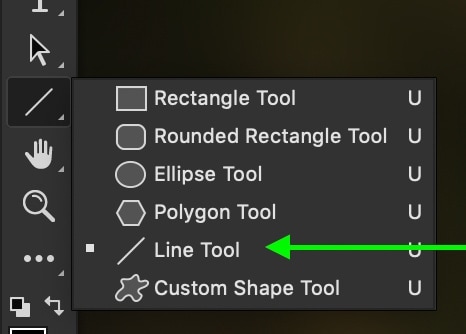
The line tool can be found within your shape adjustments by pressing U on your keyboard. At first, you may not see the line tool since it will be hidden by another shape adjustment. To access it, click and hold on the shape adjustment icon to reveal the line tool adjustment.
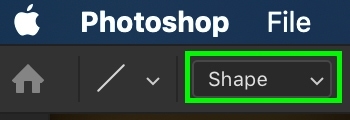
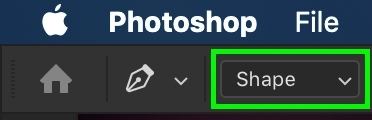
With your line tool selected, you'll need to make a few settings adjustments before creating a line. Looking to your tool settings bar at the top of the window, make sure your Mode is set to "Shape."
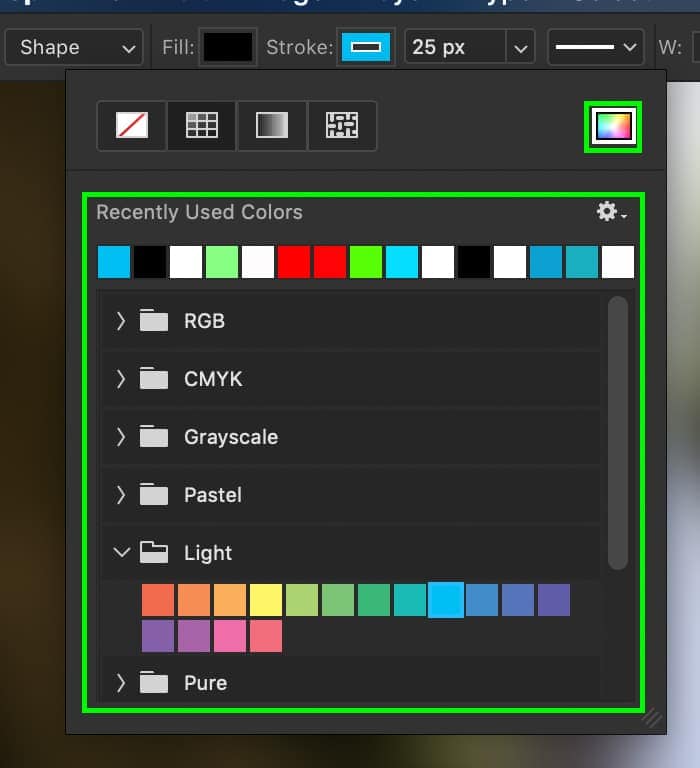
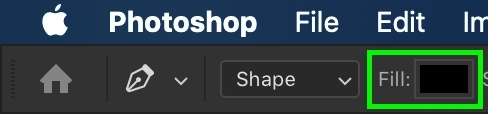
Next, click on the stroke color box to select your desired color for the line.

Then set the stroke width to set how thick your line will appear. If you aren't sure, start with a stroke between 15-25px. This can always be adjusted later!

Now it's time to draw out the line. Click and drag out anywhere on your canvas to begin drawing. The further you drag out the cursor, the longer your line will be.
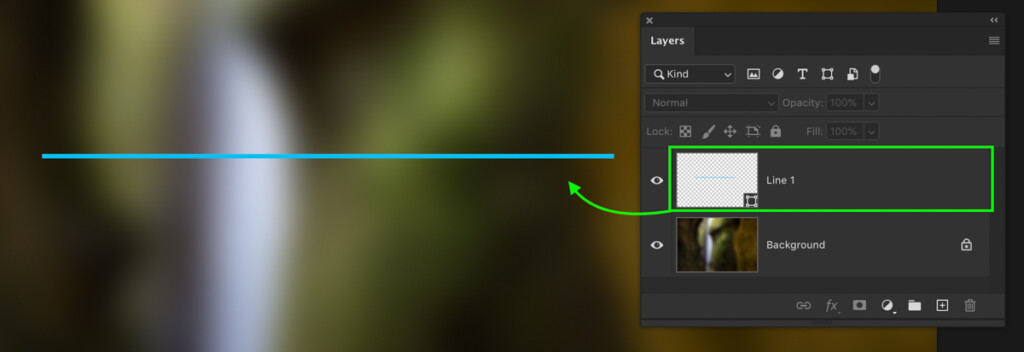
Once happy, let go, and your line will be added to its own shape layer. Success!
Adjusting The Line Tool Thickness
After drawing the line, you may want to adjust the thickness. The beauty of the line tool is that everything is easily adjusted after the fact.
Making sure your line layer is selected, select the line tool (U), and go to the stroke width setting.

Type in your new stroke width value and press enter. Your line will instantly change in thickness.

Changing The Color Of The Line Tool
Unlike other shape tools, the fill color setting does not affect the color of the line tool. Instead, you have to change the stroke color.
To change the color, once again select your line layer and make sure the line tool is active by pressing U.
Click on the stroke color box and choose a new color for your line.

How To Created Dotted Or Dashed Lines With The Line Tool
By default, the line tool will make solid colored lines. If you'd rather have a dashed or dotted line, you can change this with the stroke type.
Beside the stroke adjustment is a preview of your line. Clicking on this box will reveal an option for either a dotted or a dashed line. Click on either one to select it.
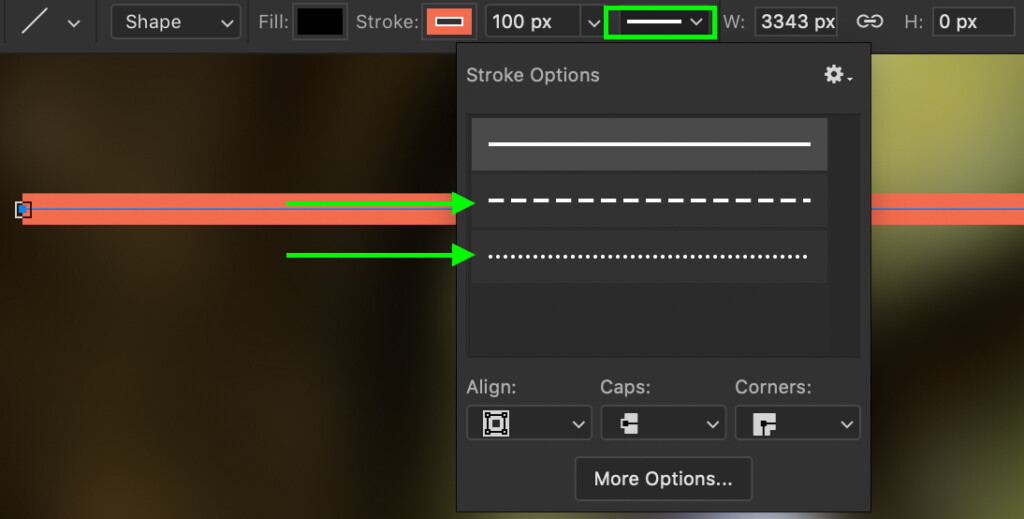
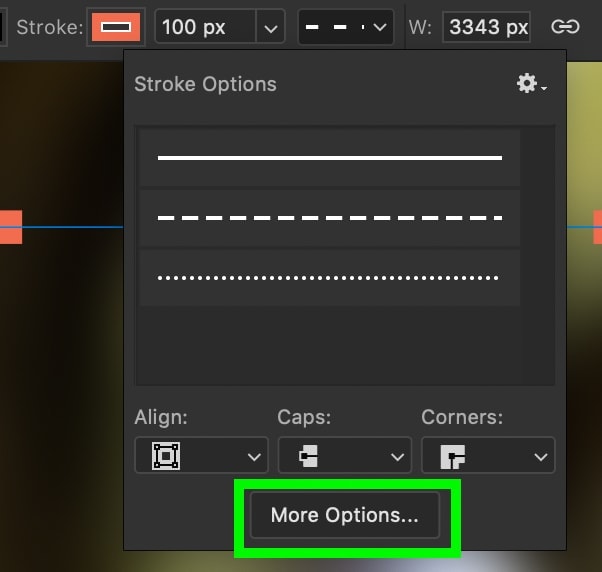
Depending on your line's size, you may need to adjust the spacing and size of the dashes. At the bottom of the stroke options panel, click "more options."
In the stroke options window, make sure "dashed line" is checked off, or choose from one of the preset options.
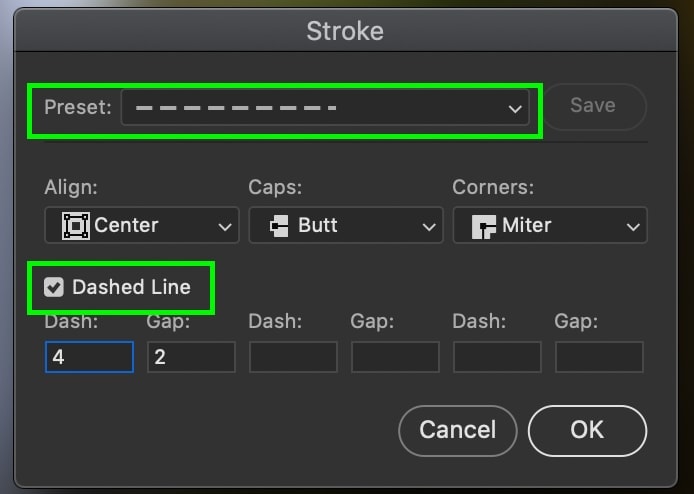
To adjust the width of each dash and the gap between, type in values for the "dash" and "gap."
The dash size sets how long each individual dash will look.
The gap will set how far each dash is spread apart.
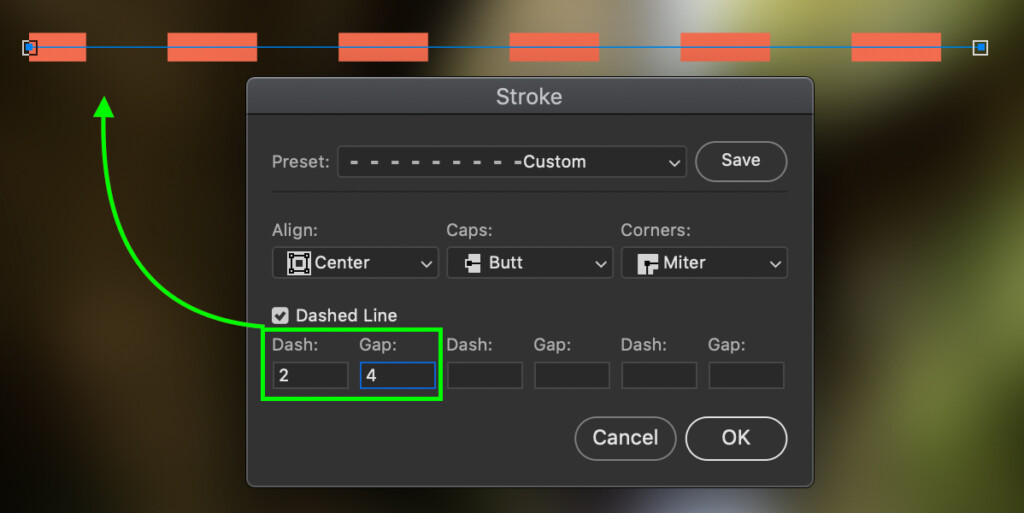
You can further customize your line and its edges by working through the alignment options as well.
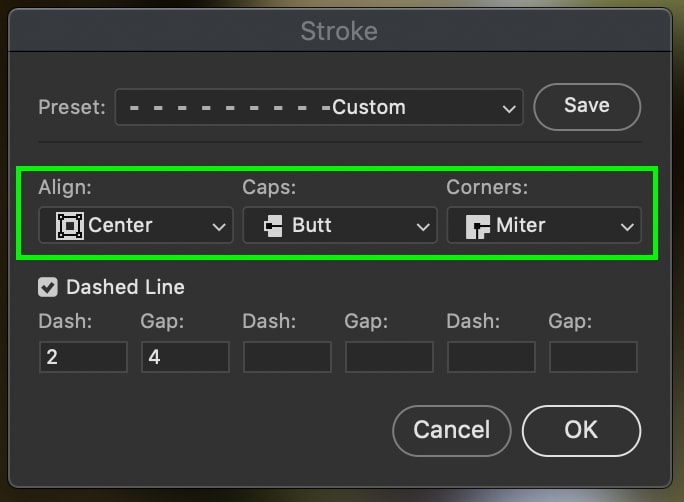
Once everything looks good, click OK, and your work is complete!
How To Make Curved Lines With The Line Tool
Since the line tool works by creating a thin rectangle, it's impossible to curve the line tool while drawing a line. Instead, you have to use a warp adjustment.
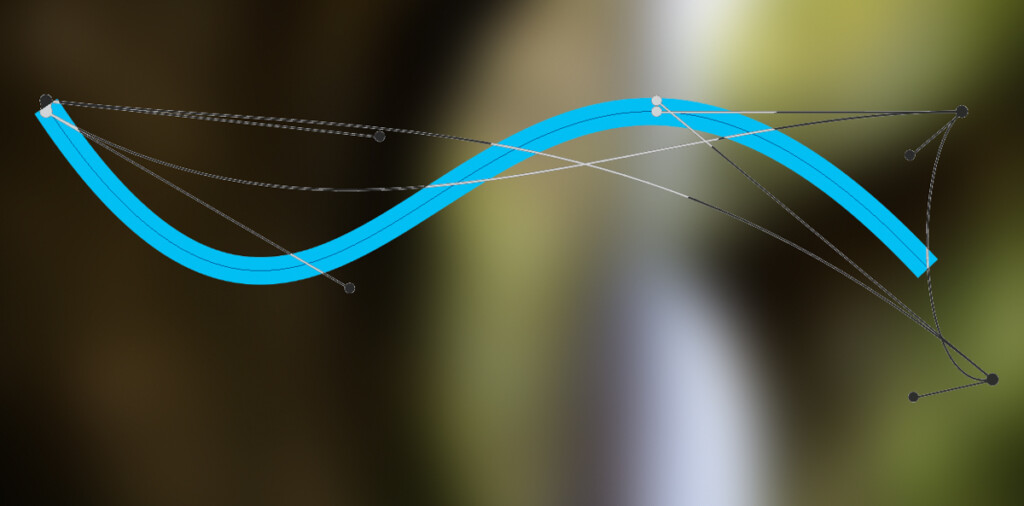
With your line layer selected, press Command + T (Mac) or Control + T (PC) to access your transform adjustments. Then click on the Warp Mode icon in the upper settings bar.

From here, you can click and drag any part of your line to curve it as you wish. It's easiest to do this manually, but there are a few preset options you can choose from.
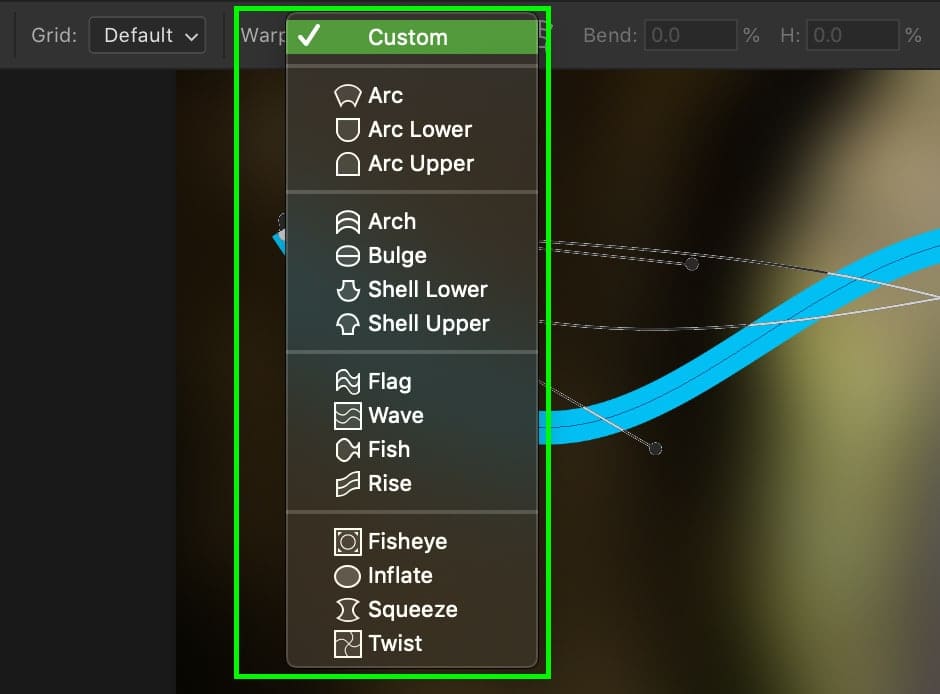
To select a preset curve adjustment, choose any of the options from the warp type drop-down menu. This can be useful as a starting point for your warp adjustments!
The line tool is one of the easiest ways to draw lines in Photoshop. Since it does most of the work for you, there's no need to worry about making it straight or having the perfect settings. Everything can be quickly adjusted after the fact, making it one of the best ways to make lines!
The only downside to this tool is that it doesn't work great for creating lines along a specific shape or edge. That's where the next tool on the list really shines!
2. The Pen Tool
The pen tool is one of the most versatile tools in Photoshop. It can be used to create selections, paths, and even draw lines. Since this tool gives you precision control over where your path goes, it's the best way to get creative with your line shapes. Whether you want to draw a wave, a lightning bolt, or a simple straight line, the pen tool can make it happen.
How To Draw Lines With The Pen Tool
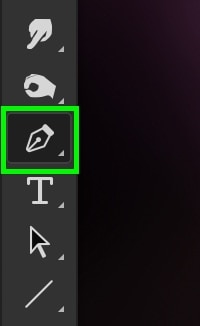
The pen tool can be found in your toolbar or by pressing P on your keyboard.
Making sure your pen mode is set to "Shape" to turn your pen path into a line.
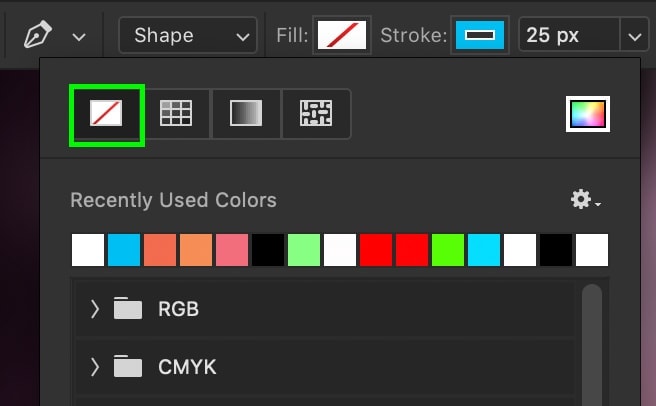
Next, change the fill color to transparent, represented by the white box with the red line through it.
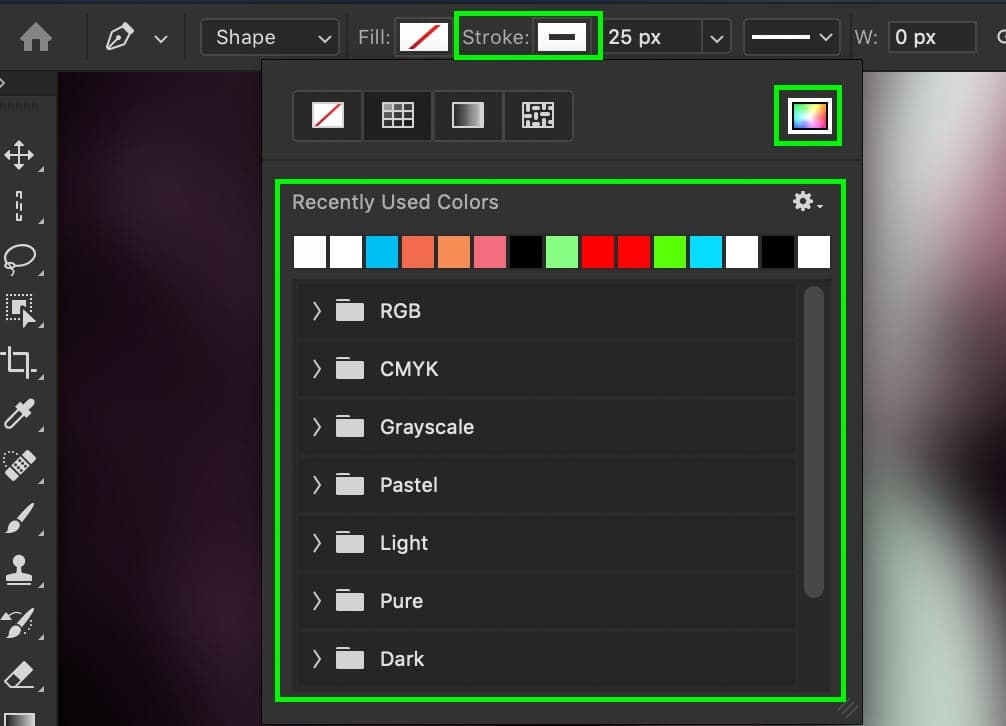
Now select a stroke color to choose the color of your line. Like the line tool, this color can be changed later on, so no need to worry!
Set the stroke size to match the thickness of the line you want. If you aren't sure, starting around 25px is a safe bet.

With your settings in order, click anywhere on your canvas to create new anchor points. These anchor points control your path while setting the start and endpoint of your line.

While creating anchor points, click and drag to curve your pen path. This will, in turn, curve the line you're drawing.

Continue creating new anchor points to form your line with the pen tool!
How To Draw Straight Lines With The Pen Tool
Drawing straight lines with the Pen Tool is pretty easy since Photoshop automatically creates straight lines between each anchor point.
With that said, you can hold Shift while creating anchor points to make sure each line is perfectly straight horizontally or vertically.
Regardless of where your mouse is, this shortcut will only place anchor points in straight lines horizontally or vertically from your initial anchor point.
Make Thicker Lines With The Pen Tool
Since the stroke thickness creates the line, this is what needs to be adjusted to thicken your line.
With your line layer selected, click on the stroke value and increase or decrease it as necessary.

Now your line will be thicker!

How To Make Dotted Lines With The Pen Tool
Just like the line tool, you can create a dotted line with the pen tool via the stroke type option.
Click on the stroke type drop-down window to reveal the dotted or dashed line preset. Select which type you want to create.

To further customize the look of your dotted lines, go through the "more options" panel as we did in the first step.

The pen tool is another easy way of making lines in Photoshop. By changing its mode from path to shape, you can easily adjust your line's stroke settings. Similar to the line tool, this makes customization very easy to do. Everything you need can be found in the upper settings bar. No extra buttons or workarounds are required!
3. The Brush Tool
The big advantage of using the brush tool for drawing lines is that it feels far more natural than any other method. Like drawing on a piece of paper, the brush tool works by painting a brushstroke on your canvas. You can draw any shape or line you want with this tool since you have total control with your mouse.
With that said, not every brush stroke is made the same as the brush tool. Depending on your brush settings or tip shape, you can vary the look of each brushstroke significantly. With options to feather the edges, adjust smoothing, blending modes, or tip shapes, the opportunities are endless. Especially so when it comes to creating lines, the brush tool is easy to customize.
How To Use The Brush Tool
To create a line with the brush tool, grab your brush tool by pressing B or find it in your toolbar.

Going up to your brush settings, select a size (the thickness of your brushstroke) and hardness for your brush. To create a solid line, make sure your hardness is set to 100%. This will create a nice sharp edge to your brush strokes.
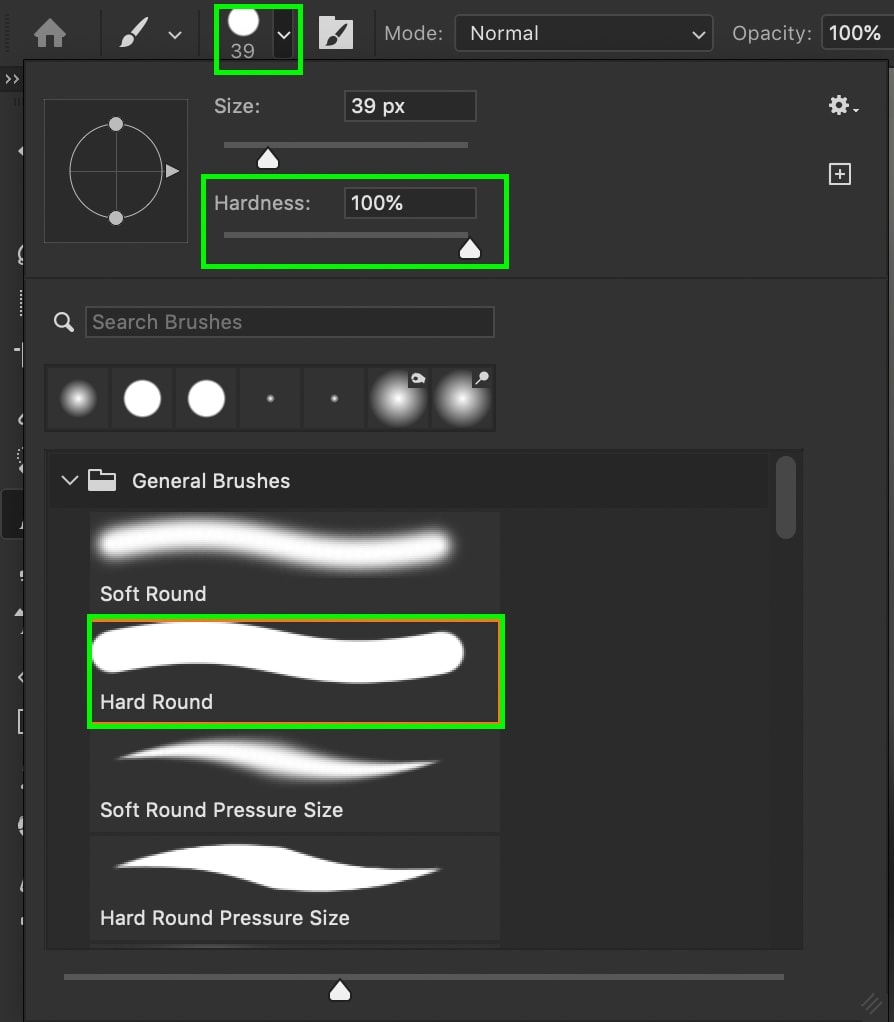
Next, make sure your opacity and flow are set to 100%.

To get the cleanest looking lines, increase the brush smoothing to 100% . Smoothing will help to smooth out any irregularities in your brush strokes. That way, you end up with flawless brush strokes and lines every time!

With your settings in order, create a new layer to make your brush strokes on. With the new layer selected, click and drag on your canvas to create a line.
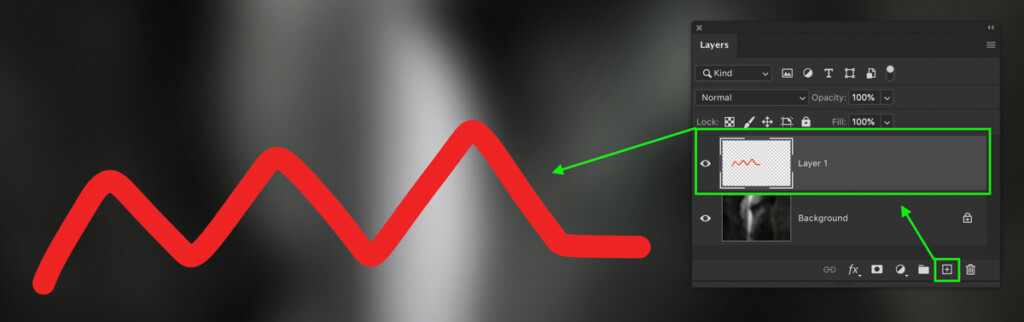
By moving your cursor in the shape you want, you can create just about any line you need with the brush tool.
Drawing Straight Lines With The Brush Tool
Since brush strokes are drawn freehand, it can be hard to draw perfectly straight lines. Luckily, there's an easy shortcut to help solve this problem.
By holding shift and creating a new brushstroke, you will only be able to paint in a straight line.

Drawing Dotted Lines With The Brush Tool
To create a dotted brushstroke, you need to change the spacing of your brush tip.
Open the brush settings panel and select the brush tip shape tab.
If you don't see this panel, go to Window > Brush Settings.

Check off the spacing option and increase the spacing slider as necessary. You can use the brush preview below or draw on your canvas to see how it looks.
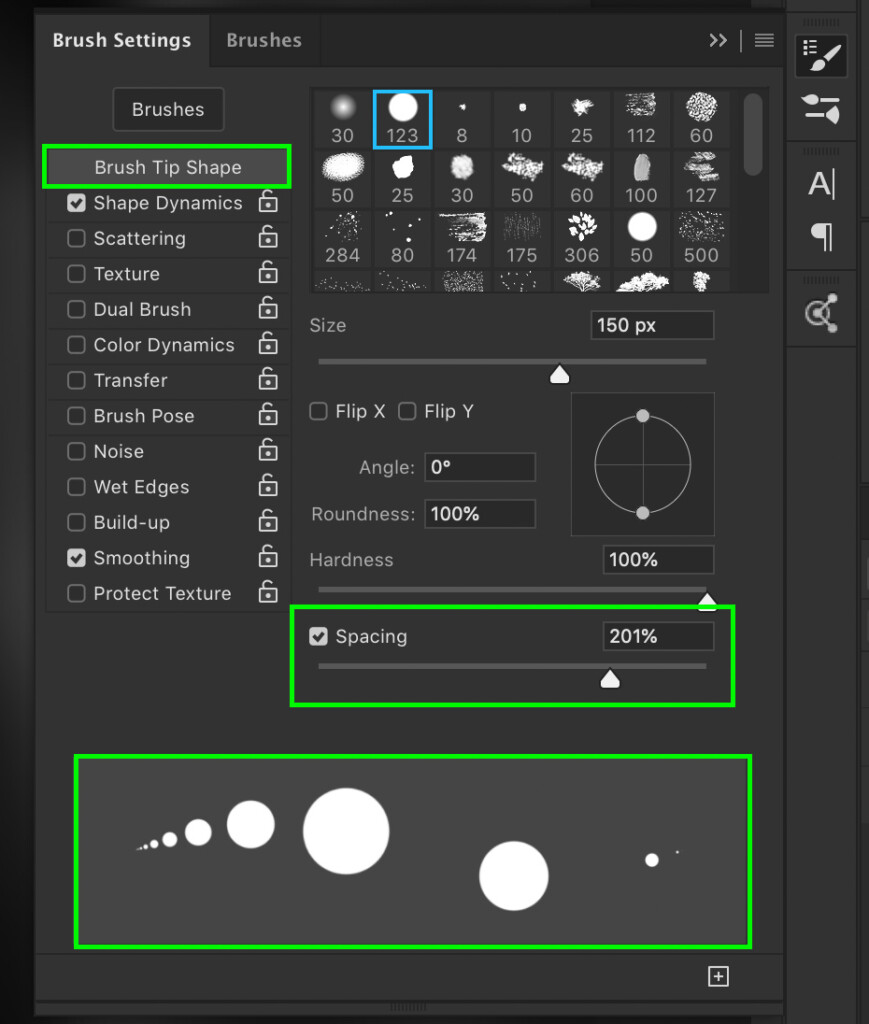
Now when you create a brushstroke, it will be made up of individual dots rather than a continuous line.

You can either freehand your lines or use the shift key to create straight dotted lines!
Changing Line Color With The Brush Tool
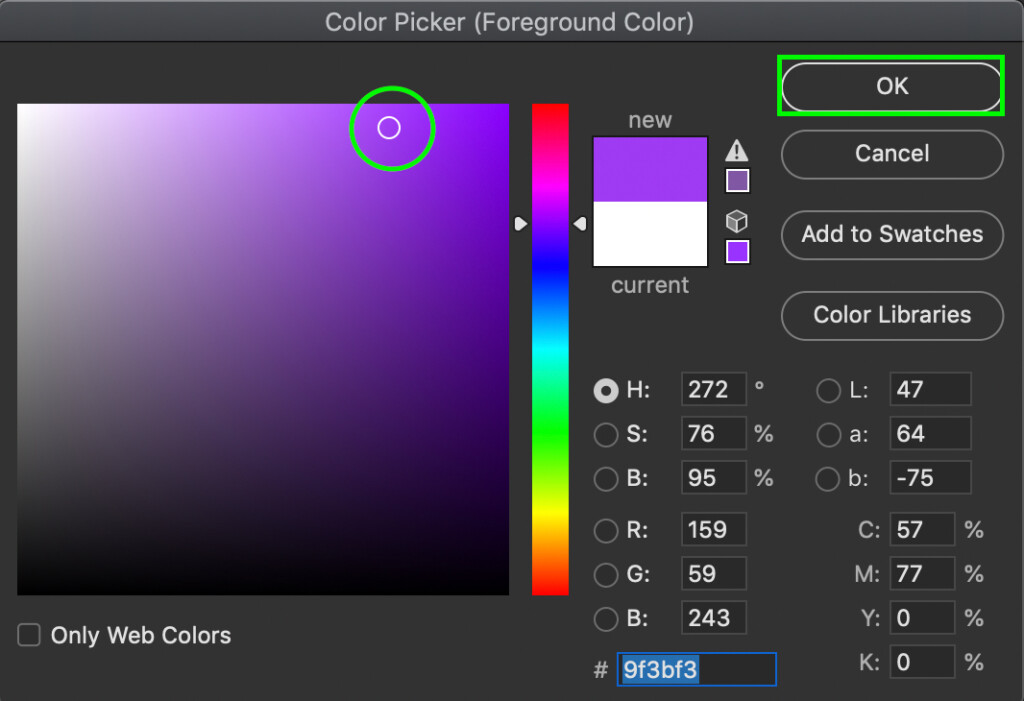
Unlike the other tools that have shape layer settings to work with, the brush tool requires you to set a color before painting. The color your brush will paint is based on your active foreground color. You can find your foreground color at the bottom of your toolbar.
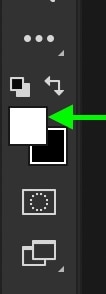
To change the color of a line, click on the foreground color, and choose a new color from the color picker. Click OK when you're happy.
Now begin to create your lines with the brush tool, but now with an updated color!

By using these three different methods to draw lines in Photoshop, you are ready for anything. Having a few different techniques like this helps to get the exact look you're going for with a line. Depending on your specific photo, one method may work better than another.
For general use, using the Line Tool is the fastest and easiest way to make lines in Photoshop. Since you just click and drag, it doesn't get more simple than that! Better yet, you can customize all the aspects of your line at any point after creating it.
On the other hand, the pen tool makes it easy to curve lines or make them follow along a certain edge. Similarly, with the brush tool, you can create just about any type of line since it's all created freehand!
No matter which tool you use, one thing is for sure, you have now become a master of creating lines in Photoshop.
Happy Editing!
– Brendan 🙂
Source: https://www.bwillcreative.com/how-to-draw-lines-in-photoshop/